


It’s really simple to learn how to whiten teeth in Lightroom with a few brush strokes.
No, you don’t need to make a last minute appointment to the dentist to brighten that smile, it only takes a few seconds to whiten teeth when you use Lightroom!
Before you whiten teeth, it’s a good rule of thumb to fix your white balance and color grading first.
Why?
When you start using brushes to whiten teeth, you will be removing color casts, so it’s important to have all of your base editing done and finished before you put the final touches on your photos (like teeth whitening!). Otherwise, you will have re-edit and apply your brush strokes all over again – and who likes doing the same work twice?!
You’ll also learn how to create your own teeth whitening brush and save it for later use so you can use it time & time again if needed.
Okay, let’s down to business and show you How to whiten teeth in Lightroom!
Step 1: edit your photo
You can either use presets or hand edits to edit your photo in Lightroom.
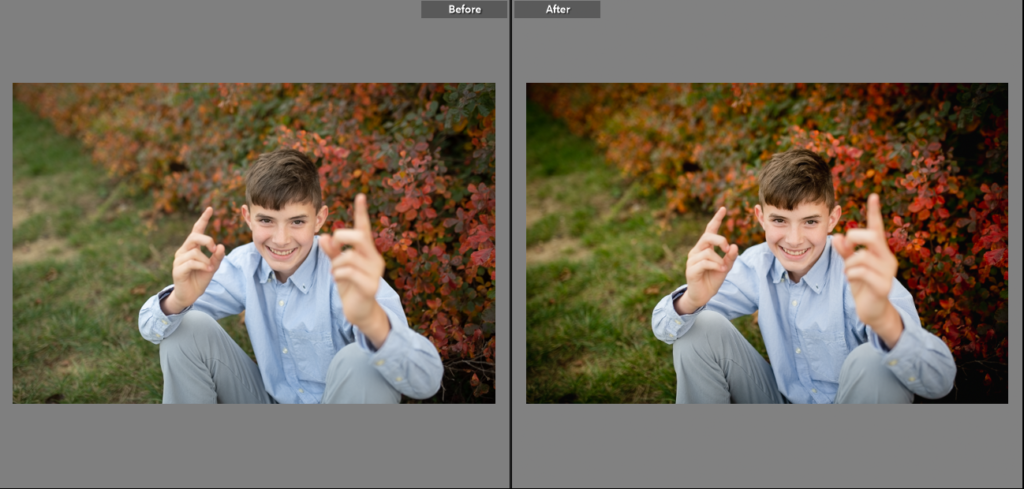
Do all of your editing first and make sure to include basic adjustments, white balance, exposure, toning, tone curve adjustments, and vignettes.
For this photo, I used the preset “dazzlin” from the Life in Color presets, along with a few basic panel adjustments to even out the colors and reduce highlights.
Once finished, you can move on to the next step.
Step 2: Choose your brush settings
Now that you have finished editing your photo, open up the brush tool found above the basic panel on the right side of the develop module.
What you are aiming to do with teeth whitening is taking out the yellow color cast that is either there naturally or becomes more evident with warmer images. This is why you should be doing your white balance BEFORE whitening teeth.
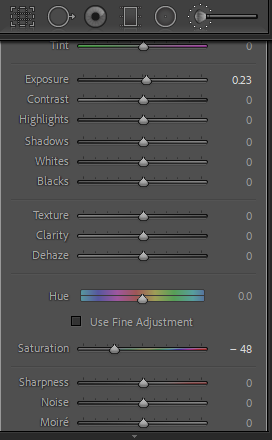
This is what your brush settings should look like when you are selecting them, but keep in mind that you might have to adjust the sliders for each individual photo.
For a great tooth whitening brush, slightly increase the exposure AND decrease saturation, then apply over the teeth.
Go over the entire area of the teeth, but don’t worry about the gums and the lips – we can remove those parts in the next step.
Step 3: touch up your brush strokes
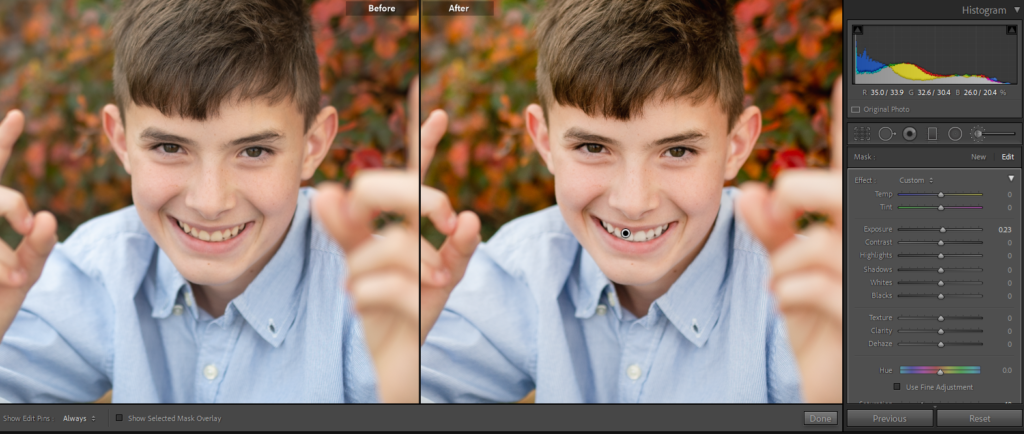
Once you have gone over the entire tooth area, now you can remove unwanted brush strokes.
While still in the brush panel with the brush highlighted and active, turn on the mask overlay underneath the photo viewer.

The overlay (which is shown as the red area) will show you where the brush has been applied so that you can remove any area that you need to.
With the brush still active, choose the “erase” option underneath the brush setting panel and them go over the areas that you need to remove.
Note: Make sure the flow of your brush is set to 100, otherwise it will not remove anything.
Step 4: Save your brush for later
Now that you have created a tooth brush (as I like to call it), you can save it for future use.
While still in the brush panel with the brush settings selected, click on the dropdown arrow at the top where it says “custom”. This will open a dropdown menu with several brushes.
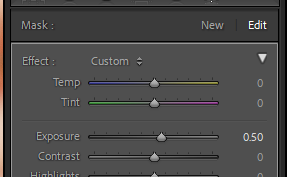
Scroll down to the bottom where it says “save current settings as new preset”, click it, then name your brush preset.
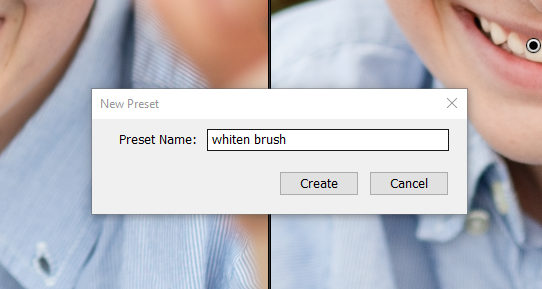
Now you have a tooth whitening brush for future use and won’t need to make it again.
Helpful tip: don’t over-do the teeth whitening.
It’s easy to get caught up in editing tricks and wanting to put your new skills to the test, but it doesn’t take much to polish your photos to perfection!
Instead, use a lighter hand and then work your way up.
This is just another reason why I LOVE editing in Lightroom – it’s non-destructive to your original images and you can go back and re-edit later on if you made any early mistakes.
If you need a further explanation and a closer look at teeth and eye whitening in Lightroom, here’s a quick tutorial:
Want to take your Lightroom skills to the next level the EASY way???
Editing with ease is a complete learning experience if you’re dying to know how to to edit in less time so that you can focus on other things in your life (and your business if you have one!).
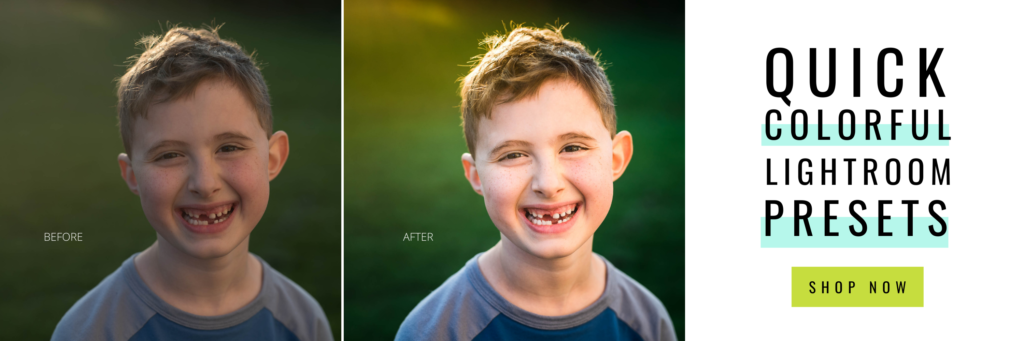
Or just grab one of my preset collections to instantly transform your photos into something that you love!


be the first to comment